How to Launch Jupyter Notebook from Terminal: A Comprehensive Guide
Jupyter Notebook has become an indispensable tool for data scientists, researchers, and developers alike. Its interactive environment allows users to seamlessly blend code, text, and visualizations, making it ideal for data analysis, prototyping, and educational purposes. One of the fundamental skills for any Jupyter Notebook user is knowing how to launch Jupyter Notebook from terminal. This guide provides a comprehensive walkthrough, ensuring you can quickly and efficiently start your Jupyter Notebook sessions.
Prerequisites
Before diving into the process of launching Jupyter Notebook from the terminal, ensure you have the following prerequisites in place:
- Python Installation: Jupyter Notebook requires Python. It’s recommended to use Python 3.6 or higher.
- Jupyter Notebook Installation: Install Jupyter Notebook using pip, the Python package installer. Run
pip install notebookin your terminal. - Basic Terminal Knowledge: Familiarity with navigating directories in the terminal is essential.
Launching Jupyter Notebook: The Basics
The most straightforward method to launch Jupyter Notebook from terminal involves the following steps:
- Open your Terminal: On macOS and Linux, you can find the terminal application. On Windows, use Command Prompt or PowerShell.
- Navigate to your desired directory: Use the
cdcommand to move to the directory where you want to create or open your Jupyter Notebook files. For example,cd Documents/Projects/DataAnalysis. - Launch Jupyter Notebook: Type
jupyter notebookand press Enter.
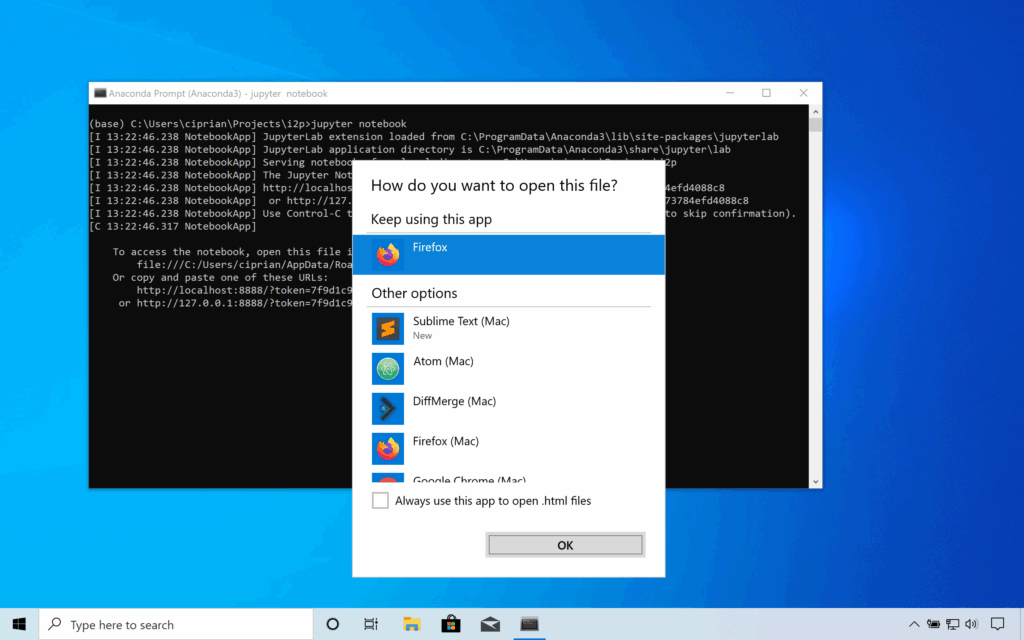
This command starts the Jupyter Notebook server and automatically opens a new tab in your default web browser. If the browser does not open automatically, the terminal will display a URL that you can copy and paste into your browser.
Understanding the Jupyter Notebook Interface
Once Jupyter Notebook is launched, you’ll see the Jupyter Notebook interface in your web browser. This interface displays a list of files and folders in your current directory. From here, you can:
- Create a New Notebook: Click on the “New” button in the upper right corner and select “Python 3” (or another kernel if you have it installed).
- Open an Existing Notebook: Click on the name of the
.ipynbfile to open it. - Navigate Directories: Click on folder names to navigate through your file system.
Advanced Launching Options
While the basic method works for most users, Jupyter Notebook offers several advanced options that can be useful in specific scenarios. Let’s explore some of these options.
Specifying a Port
By default, Jupyter Notebook runs on port 8888. If this port is already in use, Jupyter Notebook will automatically try to use the next available port. However, you can explicitly specify a port using the --port option:
jupyter notebook --port=9000This command will launch Jupyter Notebook on port 9000.
Running in a Specific Directory
You can also specify the directory where Jupyter Notebook should start. This can be useful if you want to ensure that Jupyter Notebook always starts in a specific project directory. Use the following command:
jupyter notebook /path/to/your/directoryReplace /path/to/your/directory with the actual path to your directory.
Launching Without a Browser
In some cases, you might want to launch Jupyter Notebook without automatically opening a web browser. This can be useful if you are running Jupyter Notebook on a remote server. Use the --no-browser option:
jupyter notebook --no-browserWhen you use this option, Jupyter Notebook will start the server but will not open a browser. You will need to manually copy the URL from the terminal and paste it into your browser.
Configuring Jupyter Notebook
Jupyter Notebook can be configured using a configuration file. This file allows you to customize various aspects of Jupyter Notebook, such as the default browser, the default directory, and more. To create a configuration file, use the following command:
jupyter notebook --generate-configThis command will create a configuration file in your Jupyter Notebook directory. You can then edit this file to customize Jupyter Notebook to your liking.
Troubleshooting Common Issues
Even with a clear understanding of the launch process, you may encounter issues. Here are some common problems and their solutions:
- “Jupyter” is not recognized as an internal or external command: This error typically indicates that Jupyter Notebook is not properly installed or that the Python scripts directory is not in your system’s PATH environment variable. Ensure Jupyter is installed using
pip install notebook. If the issue persists, add the Python scripts directory (e.g.,C:UsersYourUsernameAppDataLocalProgramsPythonPython39Scripts) to your PATH. - Port already in use: If Jupyter Notebook cannot start because the default port (8888) is already in use, you can either close the application using the port or specify a different port using the
--portoption. - Browser not opening: If the browser does not open automatically, copy the URL provided in the terminal and paste it into your browser. Ensure your browser is compatible with Jupyter Notebook.
- Kernel errors: Kernel errors can occur due to various reasons, such as missing packages or incompatible dependencies. Ensure that all necessary packages are installed and that your environment is properly configured. Consider using virtual environments to manage dependencies.
Security Considerations
When running Jupyter Notebook, it is important to consider security implications, especially if you are running it on a remote server. Here are some security tips:
- Use a strong password: When prompted, set a strong password to protect your Jupyter Notebook server.
- Use HTTPS: If you are running Jupyter Notebook on a remote server, use HTTPS to encrypt the communication between your browser and the server.
- Restrict access: Configure your firewall to restrict access to the Jupyter Notebook server.
- Keep Jupyter Notebook up to date: Regularly update Jupyter Notebook to ensure that you have the latest security patches.
Integrating Jupyter Notebook with Other Tools
Jupyter Notebook can be seamlessly integrated with other tools to enhance your workflow. Here are some popular integrations:
- Version Control (Git): Use Git to track changes to your Jupyter Notebook files. This allows you to collaborate with others and easily revert to previous versions.
- Cloud Storage (Dropbox, Google Drive): Store your Jupyter Notebook files in the cloud to ensure that they are backed up and accessible from anywhere.
- Data Visualization Libraries (Matplotlib, Seaborn): Use data visualization libraries to create interactive charts and graphs in your Jupyter Notebooks.
- Data Analysis Libraries (Pandas, NumPy): Use data analysis libraries to manipulate and analyze data in your Jupyter Notebooks.
Conclusion
Knowing how to launch Jupyter Notebook from terminal is a fundamental skill for anyone working with data analysis and scientific computing. By following the steps outlined in this guide, you can quickly and efficiently start your Jupyter Notebook sessions and take advantage of its powerful features. Whether you are a beginner or an experienced user, mastering the command-line launch process will enhance your productivity and streamline your workflow.
From basic launching to advanced configurations and troubleshooting, this article has equipped you with the knowledge to confidently launch Jupyter Notebook from terminal in any environment. Remember to prioritize security and explore the various integrations to maximize your productivity. Happy coding!
This comprehensive guide ensures that users understand not only the process of launching Jupyter Notebook from the terminal but also the various options and considerations involved. By mastering these skills, users can enhance their productivity and streamline their data analysis workflow. Understanding how to launch Jupyter Notebook from terminal correctly is a key skill for data scientists.
[See also: Setting Up a Python Environment for Data Science]
[See also: Best Practices for Jupyter Notebook Documentation]
[See also: Advanced Data Visualization Techniques with Python]
