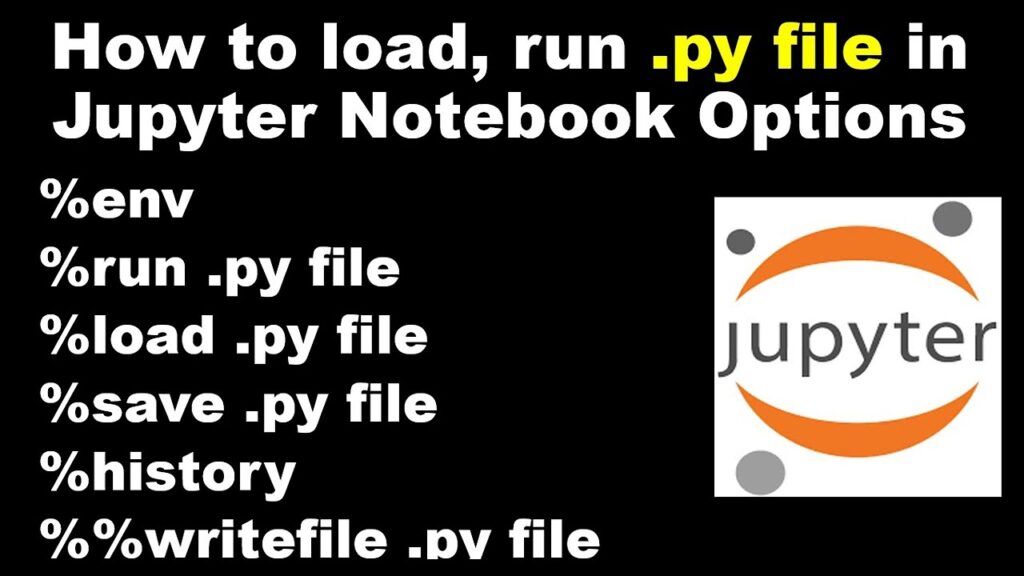
How to Run .py Files in Jupyter Notebook: A Comprehensive Guide
Jupyter Notebook is a powerful tool for interactive computing, widely used for data analysis, machine learning, and scientific research. While primarily known for its support of IPython notebooks (.ipynb files), you might encounter situations where you need to execute existing Python scripts (.py files) within a Jupyter Notebook environment. This guide provides a detailed walkthrough on how to run .py files in Jupyter Notebook, covering various methods and troubleshooting common issues.
Why Run .py Files in Jupyter Notebook?
Before diving into the how-to, let’s understand why you might want to integrate .py files into your Jupyter workflow:
- Code Reusability: You may have existing Python scripts that contain functions, classes, or entire modules you want to use within your notebook.
- Modular Development: Separating your code into .py files promotes modularity and better organization, especially for larger projects.
- Testing and Debugging: Running .py files in a notebook allows you to interactively test and debug your scripts, inspecting variables and intermediate results.
- Integration with Notebook Features: You can leverage Jupyter Notebook’s visualization capabilities, markdown documentation, and interactive widgets to enhance your analysis of the script’s output.
Methods to Run .py Files in Jupyter Notebook
Several methods exist to execute .py files within a Jupyter Notebook. Each approach has its advantages and disadvantages, depending on your specific needs.
Using the `%run` Magic Command
The `%run` magic command is the most straightforward way to execute a .py file. It executes the script in the notebook’s environment, making the variables and functions defined in the script available for further use.
Syntax:
%run your_script.pyReplace `your_script.py` with the actual path to your Python script. If the script is in the same directory as the notebook, you can simply use the filename. Otherwise, provide the full or relative path.
Example:
# Assuming 'my_functions.py' is in the same directory
%run my_functions.py

# Now you can call functions defined in my_functions.py
result = my_functions.calculate_sum(10, 20)
print(result)
Advantages:
- Simple and easy to use.
- Variables and functions defined in the script become available in the notebook’s environment.
Disadvantages:
- Executes the entire script, even if you only need a specific function.
- Can lead to namespace pollution if the script defines variables with the same names as those already present in the notebook.
Importing the .py File as a Module
Another approach is to import the .py file as a module using the `import` statement. This allows you to access specific functions and classes defined in the script without executing the entire file.
Syntax:
import your_script

# Access functions and classes using dot notation
result = your_script.calculate_sum(10, 20)
print(result)
If the script is not in the same directory as the notebook, you need to add the script’s directory to the Python path using `sys.path.append()`:
import sys
sys.path.append('/path/to/your/script')
import your_script

result = your_script.calculate_sum(10, 20)
print(result)
Advantages:
- Allows you to import specific functions and classes, avoiding unnecessary code execution.
- Provides better namespace control, preventing variable name conflicts.
Disadvantages:
- Requires modifying the Python path if the script is not in the same directory.
- May require restructuring your script to be import-friendly (e.g., using `if __name__ == ‘__main__’:` guard).
Using the `subprocess` Module
The `subprocess` module allows you to execute external commands from within your Python code. You can use it to run the .py file as a separate process.
Syntax:
import subprocess

result = subprocess.run(['python', 'your_script.py'], capture_output=True, text=True)

# Access the script's output
print(result.stdout)
print(result.stderr)
Advantages:
- Executes the script in a separate process, isolating it from the notebook’s environment.
- Allows you to capture the script’s output (stdout and stderr).
Disadvantages:
- More complex to use than `%run` or `import`.
- Variables and functions defined in the script are not directly accessible in the notebook’s environment.
Creating a Cell Magic
For frequent use, you can create a custom cell magic to run .py files. This approach combines the simplicity of `%run` with the modularity of `import`.
Implementation:
from IPython.core.magic import register_cell_magic

@register_cell_magic
def run_script(line, cell):
    with open(line, 'w') as f:
        f.write(cell)
    get_ipython().run_cell(cell)

# Usage:
%%run_script your_script.py
# Your Python code here
Advantages:
- Encapsulates the script execution logic into a reusable cell magic.
- Allows you to write and execute Python code directly within the cell.
Disadvantages:
- Requires defining a custom cell magic, which may be less intuitive for beginners.
- Can be less efficient for very large scripts.
Troubleshooting Common Issues
When attempting to run .py files in Jupyter Notebook, you might encounter some common issues. Here’s a guide to troubleshooting them:
- ModuleNotFoundError: This error indicates that the script is trying to import a module that is not installed or not in the Python path. Ensure that all required modules are installed using `pip install ` and that the script’s directory is added to the Python path if necessary.
- SyntaxError: This error indicates that there is a syntax error in your .py file. Review the error message and the corresponding line in the script to identify and fix the syntax error.
- NameError: This error indicates that you are trying to use a variable or function that is not defined. Ensure that the variable or function is defined before it is used and that it is in the correct scope.
- PermissionError: This error indicates that you do not have the necessary permissions to access the .py file. Ensure that you have read permissions for the file.
- Script Not Found: When using `%run`, double-check the file path. A typo or incorrect path will prevent the script from executing.
Best Practices
Here are some best practices to follow when working with .py files in Jupyter Notebook:
- Use a virtual environment: Create a virtual environment for each project to isolate dependencies and avoid conflicts.
- Organize your code: Structure your .py files into modules and packages for better organization and reusability.
- Write clear and concise code: Follow PEP 8 guidelines for code style and readability.
- Document your code: Use docstrings to document your functions and classes.
- Test your code: Write unit tests to ensure that your code is working correctly.
- Use version control: Use Git to track changes to your code and collaborate with others.
- Consider using a linter: Linters can help identify potential errors and style issues in your code.
Conclusion
Integrating Python scripts into your Jupyter Notebook workflow can significantly enhance your productivity and flexibility. By understanding the different methods available, such as using the `%run` magic command, importing as a module, or leveraging the `subprocess` module, you can effectively run .py files in Jupyter Notebook and leverage their functionality within your interactive analysis. Remember to consider the advantages and disadvantages of each method and choose the one that best suits your specific needs. By following best practices and troubleshooting common issues, you can ensure a smooth and efficient workflow. Now you know how to run .py files in Jupyter Notebook. Happy coding!
[See also: Jupyter Notebook Best Practices]
[See also: Debugging Python Code in Jupyter]
[See also: Using Virtual Environments with Jupyter Notebook]
