How to Remove Brake Dust Shields: A Comprehensive Guide
Brake dust shields, also known as brake dust deflectors or splash shields, are designed to protect your brake rotors and calipers from road debris and excessive brake dust buildup. While they serve a purpose, they can sometimes cause more harm than good, leading many vehicle owners to consider how to remove brake dust shields. This comprehensive guide will walk you through the reasons for removal, the potential consequences, and a step-by-step process for safely removing them.
Understanding Brake Dust Shields
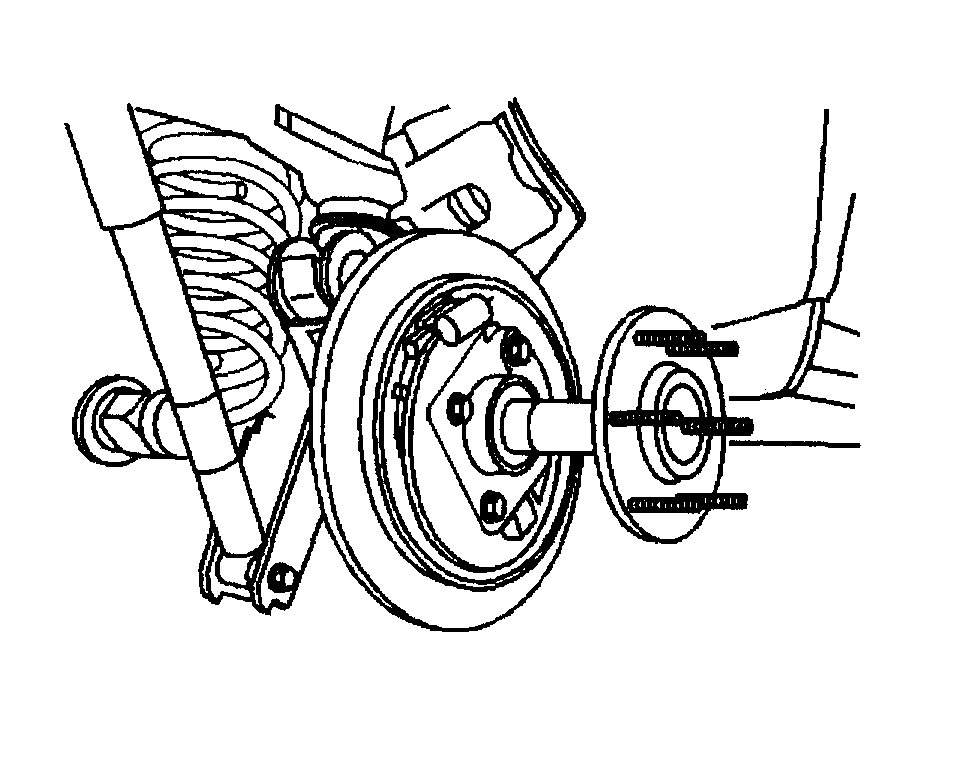
Before diving into the removal process, it’s crucial to understand the function of brake dust shields. These thin metal or plastic plates are strategically positioned behind the brake rotors. Their primary functions include:
- Protecting Brake Components: Shields deflect water, salt, rocks, and other road debris that could damage the rotors, calipers, and brake pads.
- Reducing Brake Dust Accumulation: They help minimize the amount of brake dust that accumulates on the wheels, keeping them cleaner for longer.
- Maintaining Brake Temperature: In some designs, shields can help regulate brake temperature by directing airflow.
Why Remove Brake Dust Shields?
Despite their intended benefits, several reasons might prompt you to consider how to remove brake dust shields:
- Rust and Corrosion: Over time, brake dust shields can corrode and rust, especially in regions with harsh winters and salted roads. This corrosion can lead to rattling noises and eventual disintegration of the shield.
- Obstruction: A damaged or bent shield can rub against the rotor, creating a constant scraping sound and potentially damaging the rotor.
- Heat Buildup: In some cases, shields can trap heat around the brakes, leading to reduced braking performance, especially during aggressive driving or towing. This is a controversial point, as some argue they aid in heat dissipation.
- Aftermarket Brake Upgrades: Some aftermarket brake kits may not be compatible with the factory brake dust shields, necessitating their removal.
- Ease of Maintenance: Removing the shields can make it easier to access and inspect the brakes during routine maintenance.
Potential Consequences of Removing Brake Dust Shields
Before you learn how to remove brake dust shields, consider the potential downsides. Removing them isn’t always the best solution, and understanding the risks is essential:
- Increased Brake Dust on Wheels: Without the shields, more brake dust will accumulate on your wheels, requiring more frequent cleaning.
- Potential for Rotor Damage: The rotors will be more exposed to road debris, increasing the risk of scratches, gouges, and premature wear.
- Reduced Brake Pad Life: Debris can accelerate brake pad wear.
- Possible Brake Noise: The absence of shields might lead to increased brake noise in certain conditions.
- Voiding Warranty: Removing brake dust shields might void the warranty on your brake components, depending on the manufacturer’s policy.
Tools and Materials Needed
If you’ve weighed the pros and cons and decided to proceed with removing the brake dust shields, gather the following tools and materials:
- Jack and Jack Stands: To safely lift and support your vehicle.
- Wheel Chocks: To prevent the vehicle from rolling.
- Socket Set and Wrenches: To remove the wheel and any fasteners holding the shield.
- Pliers: For bending or cutting the shield if necessary.
- Screwdrivers: Various sizes, including flathead and Phillips head.
- Penetrating Oil: To loosen stubborn fasteners.
- Safety Glasses: To protect your eyes from debris.
- Gloves: To protect your hands.
- Rust Penetrant (Optional): If the shields are heavily rusted.
- Cutting Tool (Optional): A hacksaw or angle grinder for cutting the shield (use with extreme caution).
Step-by-Step Guide: How to Remove Brake Dust Shields
Follow these steps carefully to safely remove your brake dust shields. Remember safety first. If you are not comfortable performing this task, seek professional assistance.
Step 1: Prepare the Vehicle
Park the vehicle on a level surface, engage the parking brake, and chock the rear wheels. Loosen the lug nuts on the wheel you’ll be working on, but don’t remove them completely yet.
Step 2: Lift and Secure the Vehicle
Use a jack to lift the vehicle and place jack stands securely under the frame. Never work under a vehicle supported only by a jack.
Step 3: Remove the Wheel
Completely remove the lug nuts and carefully take off the wheel. Set it aside.
Step 4: Inspect the Brake Dust Shield
Examine the brake dust shield to determine how it’s attached. Most shields are held in place by bolts, screws, or clips. Note their location and size.
Step 5: Loosen and Remove Fasteners
Apply penetrating oil to the fasteners and let it soak for a few minutes. Use the appropriate socket or wrench to loosen and remove the fasteners. If the fasteners are severely corroded, you may need to use a rust penetrant or heat to loosen them. Be careful not to strip the heads of the fasteners.
Step 6: Remove the Brake Dust Shield
Once the fasteners are removed, carefully detach the brake dust shield. It may be necessary to gently bend or manipulate the shield to remove it completely. If the shield is severely rusted and difficult to remove, you may need to cut it into smaller pieces using a hacksaw or angle grinder. Use extreme caution when using cutting tools, and wear appropriate safety gear.
Step 7: Clean the Area
After removing the shield, clean the area around the brake rotor and caliper to remove any debris or rust particles.
Step 8: Reinstall the Wheel
Carefully reinstall the wheel and tighten the lug nuts by hand. Lower the vehicle and torque the lug nuts to the manufacturer’s specifications using a torque wrench.
Step 9: Repeat for Other Wheels
Repeat the process for the remaining wheels, if desired.
Alternative Solutions
Instead of completely removing the brake dust shields, consider these alternative solutions:
- Repair or Replace: If the shield is only slightly damaged, you may be able to repair it by bending it back into shape or welding any cracks. Alternatively, you can replace the shield with a new one.
- Trim or Modify: If the shield is rubbing against the rotor, you may be able to trim or modify it to provide more clearance. Use a cutting tool to carefully trim the shield, ensuring you don’t damage any other brake components.
- High-Temperature Paint: Applying high-temperature paint to the shields can help prevent rust and corrosion.
Conclusion
Knowing how to remove brake dust shields is a valuable skill for any car owner. While removing brake dust shields can address issues like rust, noise, and incompatibility with aftermarket upgrades, it’s crucial to weigh the potential consequences, such as increased brake dust and risk of rotor damage. Consider alternative solutions and always prioritize safety during the removal process. If you’re unsure about any step, consult a qualified mechanic.
By understanding the function of brake dust shields, the reasons for removal, and the potential consequences, you can make an informed decision about whether or not to remove them from your vehicle. Remember to follow the steps outlined in this guide carefully and prioritize safety at all times. Good luck!
[See also: How to Replace Brake Pads]
[See also: Diagnosing Brake Noises]
[See also: Understanding Brake Rotor Wear]
