Decoding the Colorful Chaos: Expert Tips on Removing Crayon from Walls
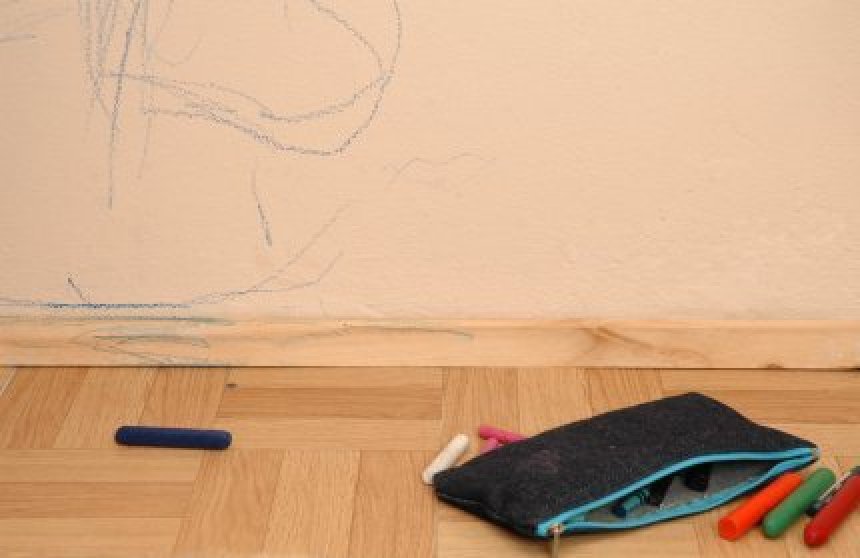
Discovering crayon on wall is a common rite of passage for parents. While it might initially spark frustration, understanding how to effectively remove these colorful masterpieces can transform a potential headache into a manageable task. This article provides a comprehensive guide, offering proven techniques and preventative measures to keep your walls pristine.
Understanding the Enemy: Crayon Composition and Wall Surfaces
Before diving into removal techniques, it’s crucial to understand what crayon is and how it interacts with different wall surfaces. Crayons are primarily composed of paraffin wax and pigment. The wax component is what adheres to the wall, while the pigment provides the color. Wall surfaces vary widely, from flat paint to semi-gloss and even textured finishes. The porosity of the surface significantly impacts how deeply the crayon embeds itself.
Porous surfaces like flat paint are more susceptible to crayon stains, as the wax can penetrate the microscopic pores. Semi-gloss and glossy paints, on the other hand, offer a smoother, less absorbent surface, making crayon removal generally easier.
The Arsenal: Gathering Your Cleaning Supplies
The right tools are essential for successful crayon on wall removal. Here’s a list of commonly used and effective cleaning supplies:
- Soft cloths or sponges: Microfiber cloths are ideal for gentle cleaning.
- Warm water: A basic solvent for many household messes.
- Dish soap: A mild detergent to help lift the wax.
- Baking soda: A gentle abrasive for tougher stains.
- White vinegar: A natural cleaning agent and deodorizer.
- Hair dryer: To soften the wax.
- Magic Eraser: A melamine sponge that can effectively remove marks.
- Toothbrush: For scrubbing textured surfaces.
- Commercial crayon removers: Available at most hardware stores.
The Battle Plan: Proven Techniques for Crayon Removal
Now that you’ve gathered your supplies, let’s explore various methods for removing crayon on wall. Always test a small, inconspicuous area first to ensure the cleaning solution doesn’t damage the paint.
The Gentle Approach: Soap and Water
Start with the mildest solution: warm water and dish soap. Mix a few drops of dish soap into a bowl of warm water. Dip a soft cloth into the solution, wring out the excess, and gently wipe the crayon marks. Rinse the area with a clean, damp cloth to remove any soap residue. This method is often effective for fresh crayon marks on semi-gloss or glossy paint.
The Baking Soda Paste: A Gentle Abrasive
For more stubborn crayon on wall, create a paste of baking soda and water. Apply the paste to the crayon marks and gently rub with a soft cloth or sponge. The mild abrasive action of the baking soda helps to lift the wax without damaging the paint. Rinse thoroughly with clean water.
The Hair Dryer Method: Melting Away the Problem
The hair dryer method involves softening the crayon wax with heat. Hold a hair dryer a few inches away from the crayon marks and apply heat until the wax begins to soften. Then, wipe away the softened wax with a clean cloth. Be careful not to overheat the area, as this could damage the paint.
The Vinegar Solution: A Natural Cleaner
White vinegar is a versatile cleaning agent that can also be used to remove crayon on wall. Mix equal parts white vinegar and water in a spray bottle. Spray the solution onto the crayon marks and let it sit for a few minutes. Then, wipe away the crayon with a clean cloth. Vinegar’s acidity helps to break down the wax.
The Magic Eraser: A Powerful Tool
Magic Erasers are melamine sponges that can effectively remove a variety of stains, including crayon. Wet the Magic Eraser and gently rub the crayon marks. Be careful not to scrub too hard, as this can dull the paint. [See also: How to Repair Scratches on Walls] Rinse the area with a clean, damp cloth.
The Toothbrush Technique: For Textured Surfaces
If your walls have a textured surface, a toothbrush can be helpful for reaching into the crevices. Dip a toothbrush into your chosen cleaning solution (soap and water, baking soda paste, or vinegar solution) and gently scrub the crayon marks. Rinse the area thoroughly.
Commercial Crayon Removers: When All Else Fails
If none of the above methods work, you may need to resort to a commercial crayon remover. These products are specifically designed to dissolve crayon wax and remove stains. Follow the manufacturer’s instructions carefully and test the product on a small, inconspicuous area first.
The Prevention Plan: Keeping Crayons Off the Walls
Prevention is always better than cure. Here are some tips to prevent crayon on wall incidents:
- Designate a drawing area: Create a specific area where children are allowed to draw, such as an easel or a large piece of paper taped to the wall.
- Supervise drawing activities: Keep an eye on children while they are drawing to prevent them from straying onto the walls.
- Use washable crayons: Washable crayons are easier to remove from walls and other surfaces.
- Apply a protective coating: Consider applying a clear, washable coating to your walls to make them easier to clean.
- Educate your children: Teach your children the importance of drawing only on designated surfaces.
Addressing Lingering Stains: When the Color Refuses to Fade
Sometimes, despite your best efforts, a faint stain may remain after removing the crayon. This is more likely on porous surfaces. Here are a few strategies to address lingering stains:
- Hydrogen Peroxide: Apply a small amount of 3% hydrogen peroxide to a cotton ball and dab it on the stain. Let it sit for a few minutes, then wipe it away with a clean, damp cloth. Test in an inconspicuous area first.
- Bleach Pen: For white or very light-colored walls, a bleach pen can be used to carefully target the stain. Use sparingly and follow the instructions on the pen.
- Repainting: In severe cases, repainting the affected area may be the only option. Be sure to match the paint color and sheen to the existing wall.
The Psychology of Crayon Marks: Embracing Imperfection
While it’s natural to want to keep your home looking pristine, it’s also important to remember that crayon marks are often a sign of creativity and childhood exploration. [See also: Creating a Kid-Friendly Home Environment] While removing crayon on wall is important, try to embrace the imperfections and cherish the memories that these colorful marks represent. After all, they won’t last forever.
The Final Stroke: Maintaining Your Walls’ Integrity
Removing crayon on wall is a common challenge for parents, but with the right techniques and a little patience, you can successfully restore your walls to their former glory. Remember to always test cleaning solutions in an inconspicuous area first, and to use gentle methods whenever possible. By implementing preventative measures, you can minimize future crayon-related incidents and keep your walls looking their best. The key is to act promptly when you discover crayon marks, as fresh marks are always easier to remove than those that have been sitting for a while. With these tips, you can confidently tackle the colorful chaos and maintain the integrity of your walls.
Ultimately, dealing with crayon on the wall is just one small part of the parenting journey. By approaching it with a positive attitude and the right tools, you can turn a potential frustration into a manageable task and create a home that is both beautiful and functional.
