How to Change My IP Address: A Comprehensive Guide
In today’s interconnected world, understanding how to manage your online presence is crucial. One fundamental aspect of this is knowing how to change my IP address. Your IP address is a unique identifier assigned to your device when it connects to the internet. It’s used for various purposes, including identifying your location and tracking your online activity. While it’s a necessary part of internet communication, there are valid reasons why you might want to change it. This comprehensive guide will walk you through various methods to change my IP address, explaining the pros and cons of each approach.
Why Change Your IP Address?
Before diving into the methods, let’s understand why someone might want to change my IP address. Several reasons exist, ranging from privacy concerns to practical troubleshooting.
- Privacy: Your IP address can be used to track your online activity. Changing it can help protect your privacy and prevent websites or advertisers from building a profile of your browsing habits.
- Security: In some cases, an IP address can be targeted by malicious actors. Changing it can mitigate the risk of attacks like DDoS (Distributed Denial of Service).
- Accessing Geo-Restricted Content: Some websites or services restrict access based on geographic location. Changing your IP address to one from a different region can bypass these restrictions.
- Troubleshooting Network Issues: Sometimes, changing your IP address can resolve network connectivity problems.
- Bypassing IP Bans: If you’ve been banned from a website or online service based on your IP address, changing it can allow you to regain access.
Methods to Change Your IP Address
There are several methods available to change my IP address. Each method has its own advantages and disadvantages, so it’s important to choose the one that best suits your needs.
Method 1: Disconnecting and Reconnecting to Your Network
This is the simplest and often the quickest way to change my IP address. Most internet service providers (ISPs) assign dynamic IP addresses, meaning that your IP address can change each time you connect to the internet.
- Disconnect Your Modem/Router: Turn off your modem and router. Unplug them from the power outlet for at least 30 seconds to a few minutes. Some experts recommend waiting for up to 2 hours for the previous IP address to be completely released.
- Reconnect Your Modem/Router: Plug your modem back into the power outlet and wait for it to power on completely. Then, plug your router back in and wait for it to power on as well.
- Check Your New IP Address: Once your network is back online, check your new IP address. You can do this by searching “what is my IP address” on Google or using a website like whatismyip.com.
Pros: Easy and free.
Cons: Not always effective. Your ISP might assign you the same IP address again. Doesn’t offer much control over the location of your new IP address.
Method 2: Using a Virtual Private Network (VPN)
A VPN is a service that encrypts your internet traffic and routes it through a server in a location of your choice. This effectively masks your real IP address and makes it appear as if you are browsing from the location of the VPN server. Using a VPN is a great way to change my IP address.
- Choose a VPN Provider: Select a reputable VPN provider. Popular options include NordVPN, ExpressVPN, Surfshark, and CyberGhost. Consider factors like price, server locations, speed, and privacy policies.
- Download and Install the VPN App: Download the VPN app for your device (desktop, mobile, etc.) and install it.
- Connect to a VPN Server: Open the VPN app and connect to a server in the location you desire.
- Verify Your New IP Address: Check your new IP address using a website like whatismyip.com. It should match the location of the VPN server you connected to.
Pros: Secure, reliable, and offers a wide range of server locations. Enhances privacy by encrypting your internet traffic.
Cons: Requires a subscription fee. Can sometimes slow down your internet speed. Some VPN providers may log your data.
Method 3: Using a Proxy Server
A proxy server acts as an intermediary between your device and the internet. When you use a proxy server, your internet traffic is routed through the proxy server, which masks your real IP address. Using a proxy server is another way to change my IP address.
- Find a Proxy Server: Find a reliable proxy server. There are many free and paid proxy servers available online. Be cautious when using free proxy servers, as they may not be secure.
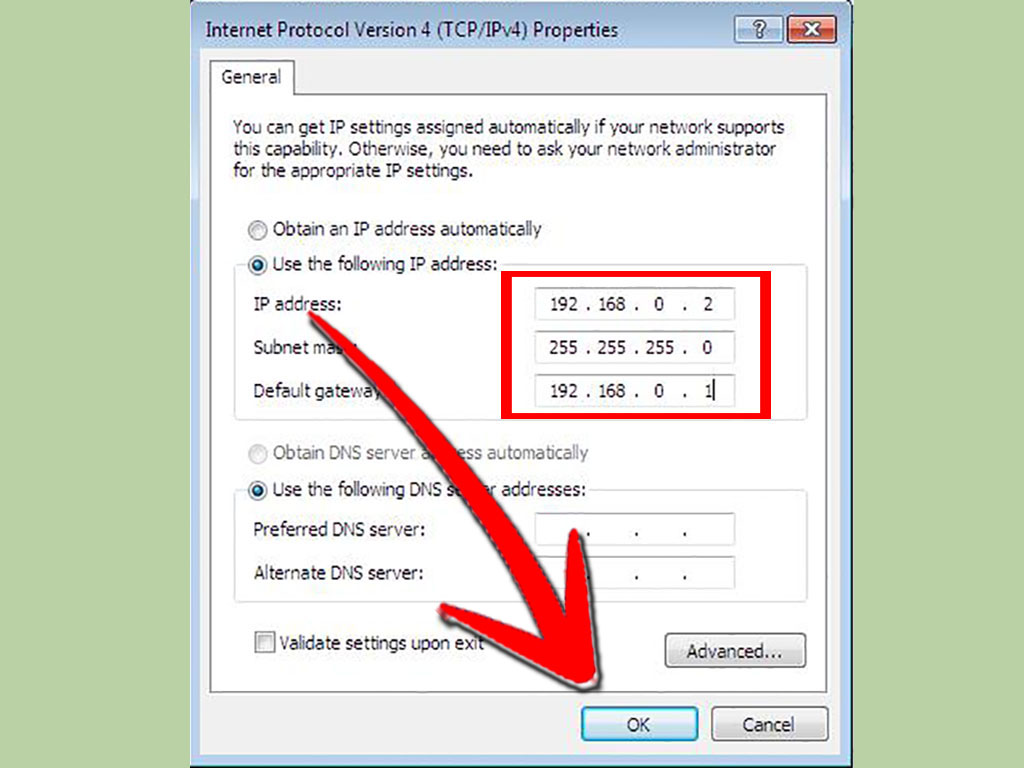
- Configure Your Device to Use the Proxy Server: The configuration process varies depending on your device and operating system. Generally, you’ll need to enter the proxy server’s IP address and port number in your device’s network settings.
- Verify Your New IP Address: Check your new IP address using a website like whatismyip.com. It should match the IP address of the proxy server.
Pros: Can be free (for some proxy servers). Can be used to bypass geo-restrictions.
Cons: Can be unreliable and slow. Free proxy servers may not be secure and can log your data. Paid proxy servers offer better performance and security but require a subscription fee.
Method 4: Using the Tor Browser
Tor (The Onion Router) is a free and open-source software that enables anonymous communication. It works by routing your internet traffic through a network of volunteer-operated servers, making it difficult to trace your online activity back to your IP address. Tor is a more advanced method to change my IP address and ensure anonymity.
- Download and Install the Tor Browser: Download the Tor Browser from the official Tor Project website (torproject.org) and install it.
- Open the Tor Browser: Launch the Tor Browser. It will automatically connect to the Tor network.
- Browse Anonymously: Once connected, you can browse the internet anonymously. Your IP address will be masked by the Tor network.
- Verify Your New IP Address: Check your new IP address using a website like whatismyip.com. It will show a different IP address than your actual one.
Pros: Highly anonymous and secure. Free to use.
Cons: Can be very slow due to the multiple layers of encryption. Not suitable for streaming or downloading large files. Can be blocked by some websites.
Method 5: Contacting Your Internet Service Provider (ISP)
In some cases, you can request your ISP to change my IP address. This is usually only possible if you have a valid reason, such as security concerns or if your IP address has been blacklisted. However, this method is less common and depends on your ISP’s policies.
- Contact Your ISP: Call your ISP’s customer support and explain your situation.
- Provide a Valid Reason: Explain why you need to change your IP address. Be prepared to provide documentation or evidence to support your claim.
- Follow Your ISP’s Instructions: If your ISP agrees to change your IP address, follow their instructions. This may involve resetting your modem or router.
Pros: Can be effective if you have a valid reason. May be the only option if other methods are not working.
Cons: Not always possible. Depends on your ISP’s policies. May take time and effort.
Choosing the Right Method
The best method to change my IP address depends on your specific needs and priorities. If you simply want to refresh your IP address and don’t need a specific location, disconnecting and reconnecting to your network might be sufficient. If you need more control over your location and want to enhance your privacy, a VPN is a good choice. If you want a free and anonymous browsing experience, Tor is an option, but be prepared for slower speeds. Proxy servers can be useful for bypassing geo-restrictions, but be cautious about security and reliability. Contacting your ISP is a last resort and may not always be successful.
Conclusion
Knowing how to change my IP address is a valuable skill in today’s digital age. Whether you’re concerned about privacy, security, or accessing geo-restricted content, there are several methods available to achieve your goals. By understanding the pros and cons of each method, you can choose the one that best suits your needs and enjoy a more secure and private online experience. Remember to always prioritize your online safety and security when using any of these methods.
[See also: How to Secure Your Home Network]
[See also: Understanding VPN Protocols]
[See also: The Ultimate Guide to Online Privacy]
