How to Remove Stickers from Your Car: A Comprehensive Guide
Stickers on your car can be a fun way to express yourself, show support for a cause, or simply add a bit of personality to your vehicle. However, there comes a time when you might want to remove them, whether it’s because they’re outdated, faded, or you simply want a cleaner look. Removing stickers from your car can seem daunting, but with the right tools and techniques, you can do it safely and effectively without damaging the paint. This comprehensive guide will walk you through various methods to remove stickers from your car, ensuring a smooth and successful process.
Understanding the Challenge of Removing Stickers
Before diving into the removal process, it’s essential to understand why removing stickers can be tricky. Stickers adhere to the car’s surface using a strong adhesive. Over time, this adhesive can bond tightly with the paint, especially when exposed to sunlight and varying temperatures. Attempting to simply peel off the sticker can leave behind sticky residue, tear the sticker into small pieces, or even damage the car’s paint. Therefore, patience and the correct approach are key to successfully remove stickers from your car.
Essential Tools and Materials
Having the right tools and materials on hand will make the sticker removal process much easier and safer. Here’s a list of essentials:
- Heat Gun or Hair Dryer: To soften the adhesive.
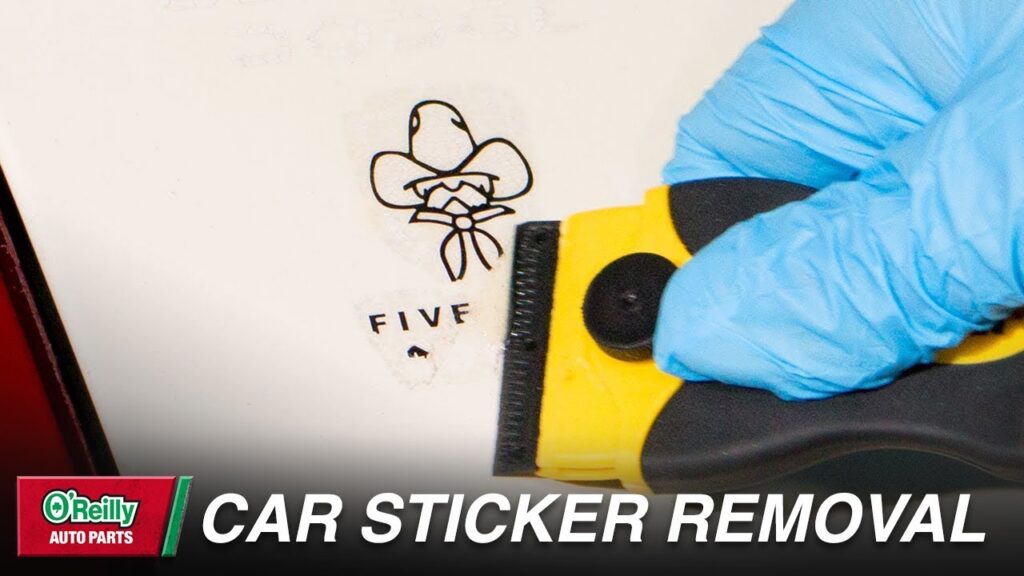
- Plastic Scraper: To gently lift the sticker without scratching the paint. Avoid using metal scrapers.
- Adhesive Remover: Such as Goo Gone, WD-40, or specialized automotive adhesive removers.
- Microfiber Cloths: For cleaning and wiping away residue.
- Warm, Soapy Water: For initial cleaning and final wipe-down.
- Isopropyl Alcohol: To remove stubborn residue.
- Spray Bottle: For applying adhesive remover or soapy water.
- Gloves: To protect your hands from chemicals.
Methods to Remove Stickers from Your Car
Using Heat to Soften the Adhesive
Heat is a highly effective method for softening the adhesive and making it easier to remove stickers from your car. Follow these steps:
- Clean the Area: Wash the area around the sticker with warm, soapy water to remove any dirt or debris.
- Apply Heat: Use a heat gun or hair dryer on a low setting. Hold the heat source a few inches away from the sticker and move it back and forth to evenly heat the surface. Avoid overheating, as this can damage the paint.
- Peel the Sticker: After a few minutes of heating, try to gently peel the sticker starting from one corner. Use a plastic scraper to help lift the edge if needed.
- Continue Heating and Peeling: Continue applying heat and peeling the sticker slowly. If you encounter resistance, apply more heat to soften the adhesive further.
- Remove Residue: Once the sticker is removed, there will likely be some adhesive residue left behind. [See also: Best Car Cleaning Products]
Applying Adhesive Remover
Adhesive removers are specifically designed to dissolve the adhesive and make it easier to remove stickers from your car. Here’s how to use them:
- Test the Remover: Before applying the adhesive remover to the entire area, test it on an inconspicuous spot to ensure it doesn’t damage the paint.
- Apply the Remover: Spray the adhesive remover directly onto the sticker and let it sit for the recommended time (usually a few minutes). Follow the product instructions carefully.
- Peel the Sticker: Use a plastic scraper to gently lift the edge of the sticker and peel it away. The adhesive should be softened, making the sticker easier to remove.
- Remove Residue: After removing the sticker, wipe away any remaining adhesive residue with a clean microfiber cloth. You may need to apply more adhesive remover to stubborn spots.
- Clean the Area: Once all the residue is removed, clean the area with warm, soapy water and dry it with a clean microfiber cloth.
Using WD-40
WD-40 is a versatile product that can also be used to remove stickers from your car. It works by penetrating the adhesive and loosening its bond with the surface.
- Spray WD-40: Spray WD-40 directly onto the sticker, ensuring it is fully saturated.
- Let it Sit: Allow the WD-40 to sit for 5-10 minutes to penetrate the adhesive.
- Peel the Sticker: Use a plastic scraper to gently lift the edge of the sticker and peel it away.
- Remove Residue: Wipe away any remaining residue with a clean microfiber cloth. You may need to apply more WD-40 to stubborn spots.
- Clean the Area: Clean the area with warm, soapy water and dry it with a clean microfiber cloth.
Using Isopropyl Alcohol
Isopropyl alcohol is another effective solvent that can help dissolve adhesive residue and remove stickers from your car. It’s readily available and relatively safe for most car paints, but always test it on an inconspicuous area first.
- Apply Alcohol: Soak a clean microfiber cloth with isopropyl alcohol.
- Rub the Residue: Gently rub the alcohol-soaked cloth over the adhesive residue. Let it sit for a minute or two to dissolve the adhesive.
- Wipe Clean: Wipe away the residue with a clean part of the microfiber cloth. Repeat as necessary until all residue is removed.
- Clean the Area: Clean the area with warm, soapy water and dry it with a clean microfiber cloth.
The Importance of a Plastic Scraper
Regardless of the method you choose, using a plastic scraper is crucial to avoid damaging your car’s paint. Metal scrapers can easily scratch the surface, leading to costly repairs. A plastic scraper allows you to gently lift the sticker without causing harm. Always use gentle pressure and avoid forcing the scraper, especially when working on delicate surfaces. The goal is to remove stickers from your car without any damage.
Preventative Measures and Maintenance
Once you’ve successfully removed the sticker, you’ll want to ensure the area remains clean and protected. Here are some preventative measures and maintenance tips:
- Wax the Area: Applying a coat of wax to the area can help protect the paint and make it easier to remove future stickers.
- Regular Cleaning: Regularly wash and wax your car to maintain its appearance and protect the paint.
- Avoid Direct Sunlight: Parking your car in shaded areas can help prevent stickers from bonding too strongly with the paint.
Dealing with Stubborn Stickers
Sometimes, despite your best efforts, you may encounter a particularly stubborn sticker that refuses to budge. In such cases, consider the following tips:
- Multiple Applications: Apply heat or adhesive remover multiple times, allowing it to penetrate the adhesive thoroughly.
- Patience: Don’t rush the process. Take your time and avoid using excessive force, which can damage the paint.
- Professional Help: If you’re unable to remove the sticker yourself, consider seeking professional help from an auto detailing shop. They have specialized tools and techniques to remove stickers from your car without causing damage.
Choosing the Right Method for Your Car
The best method to remove stickers from your car depends on several factors, including the type of sticker, the age of the sticker, and the type of paint on your car. Always start with the gentlest method and gradually increase the intensity as needed. Testing any product on an inconspicuous area first is crucial to prevent damage. By following these guidelines, you can safely and effectively remove stickers from your car and keep it looking its best.
Conclusion
Removing stickers from your car doesn’t have to be a stressful experience. With the right tools, techniques, and a bit of patience, you can successfully remove stickers from your car without damaging the paint. Whether you choose to use heat, adhesive remover, WD-40, or isopropyl alcohol, remember to proceed with caution and always test products before applying them to the entire area. By following the steps outlined in this guide, you can keep your car looking clean and sticker-free. Remember to clean and protect the area after removing the sticker to maintain the paint’s condition. Happy detailing!
