Reviving a Rusted Relic: A Comprehensive Guide to Restoring Your Rusted Bike
Discovering a rusted bike in your garage, shed, or even at a local flea market can be a bittersweet moment. On one hand, it represents a potentially valuable piece of transportation or a nostalgic reminder of past adventures. On the other hand, the unsightly rust can seem like an insurmountable obstacle. But don’t despair! With the right tools, techniques, and a bit of elbow grease, you can breathe new life into that rusted bike and transform it from a rusty eyesore into a gleaming road warrior. This comprehensive guide will walk you through every step of the restoration process, from assessing the damage to applying the final coat of protective finish.
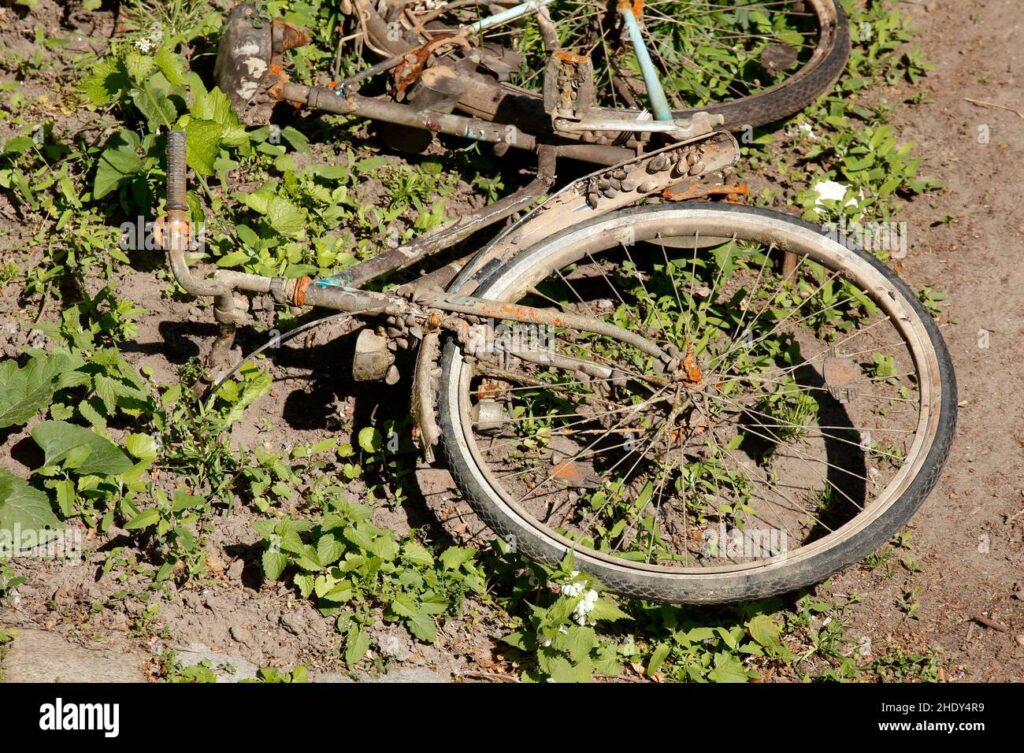
Assessing the Damage: Understanding the Extent of the Rust
Before you even think about picking up a wrench, it’s crucial to thoroughly assess the extent of the rust. Rust, scientifically known as iron oxide, forms when iron or steel is exposed to oxygen and moisture. The longer the exposure, the deeper the rust penetrates. Start by visually inspecting the entire rusted bike, paying close attention to areas prone to water accumulation, such as joints, welds, and the bottom bracket. Use a wire brush or scraper to remove loose rust and debris to get a better look at the underlying metal.
Consider these questions:
- How deep is the rust? Is it superficial surface rust, or has it eaten into the metal, weakening its structural integrity?
- Which parts are most affected? Are we talking about just the chain and some bolts, or are the frame, forks, and wheels heavily corroded?
- Are there any other signs of damage, such as dents, cracks, or broken components?
The answers to these questions will determine the scope of your restoration project and the tools and materials you’ll need. If the rust is extensive and has compromised the frame’s structural integrity, it might be best to salvage usable parts and consider a new frame. However, if the rust is primarily superficial, you can likely restore the rusted bike to its former glory.
Gathering Your Arsenal: Essential Tools and Materials
Restoring a rusted bike requires a specific set of tools and materials. Here’s a comprehensive list to get you started:
- Wire brushes: For removing loose rust and debris. Use a variety of sizes and shapes to reach tight spots.
- Sandpaper: Various grits, from coarse (80-120) for removing heavy rust to fine (220-400) for smoothing surfaces.
- Rust remover: Chemical solutions designed to dissolve rust. Choose a product appropriate for the type of metal on your rusted bike.
- Penetrating oil: To loosen stubborn bolts and nuts.
- Degreaser: To clean components before and after rust removal.
- Grease: For lubricating moving parts during reassembly.
- Primer: To provide a protective base coat before painting.
- Paint: Choose a durable paint specifically designed for bicycles.
- Clear coat: To protect the paint and provide a glossy finish.
- Rags and cloths: For cleaning and applying products.
- Safety glasses and gloves: To protect yourself from chemicals and debris.
- Tools for disassembly and reassembly: Wrenches, screwdrivers, pliers, chain tool, etc.
The Rust Removal Process: A Step-by-Step Guide
Now that you have your tools and materials, it’s time to tackle the rust. Here’s a step-by-step guide to the rust removal process:
Disassembly
Carefully disassemble the rusted bike, removing all components that can be detached from the frame. This will allow you to access all areas affected by rust. Take photos as you disassemble to help you remember how everything goes back together. Place all small parts in labeled containers to avoid confusion.
Mechanical Removal
Start by using a wire brush or scraper to remove loose rust and debris from the frame and components. For heavier rust, use coarse sandpaper. Be careful not to scratch the underlying metal excessively. Focus on removing the rust without damaging the original finish, if possible. A rotary tool with various attachments can also be helpful for reaching tight spots and removing stubborn rust.
Chemical Treatment
Apply a rust remover according to the manufacturer’s instructions. Some rust removers require soaking the affected parts, while others can be applied directly to the rust. Always wear safety glasses and gloves when working with chemicals. Allow the rust remover to work for the recommended time, then scrub the parts with a wire brush or scouring pad. Rinse thoroughly with water and dry completely. Consider using electrolysis for severely rusted bike parts. [See also: Electrolysis Rust Removal Guide]
Addressing Stubborn Rust
For particularly stubborn rust, you may need to repeat the chemical treatment process or use a more aggressive method, such as sandblasting. However, sandblasting should be done with caution, as it can damage the underlying metal if not done properly. If you’re unsure, it’s best to consult with a professional.
Surface Preparation: Creating a Smooth Canvas
Once the rust is removed, it’s essential to prepare the surface for priming and painting. This involves smoothing out any imperfections and ensuring that the paint will adhere properly.
Sanding
Use progressively finer grits of sandpaper to smooth the surface of the frame and components. Start with 220-grit sandpaper and work your way up to 400-grit. This will create a smooth, even surface for the primer to adhere to.
Cleaning
Thoroughly clean the frame and components with a degreaser to remove any grease, oil, or residue. This will ensure that the primer and paint will adhere properly. Wipe down the surfaces with a clean, lint-free cloth.
Priming and Painting: Bringing Back the Shine
Priming and painting are crucial steps in restoring a rusted bike. Primer provides a protective base coat that helps the paint adhere to the metal and prevents rust from returning. Paint adds color and protects the metal from the elements.
Priming
Apply a thin, even coat of primer to the frame and components. Use a spray primer specifically designed for metal. Allow the primer to dry completely according to the manufacturer’s instructions. Lightly sand the primer with fine-grit sandpaper (400-grit) to create a smooth surface for the paint.
Painting
Apply several thin, even coats of paint to the frame and components. Use a spray paint specifically designed for bicycles. Allow each coat to dry completely before applying the next. Avoid applying thick coats of paint, as this can lead to runs and drips.
Clear Coating
Once the paint is dry, apply a clear coat to protect the paint and provide a glossy finish. Use a spray clear coat specifically designed for bicycles. Allow the clear coat to dry completely according to the manufacturer’s instructions.
Reassembly and Fine-Tuning: Putting It All Back Together
With the frame and components painted and clear-coated, it’s time to reassemble the rusted bike. Refer to the photos you took during disassembly to ensure that everything goes back together correctly.
Lubrication
Apply grease to all moving parts, such as bearings, axles, and threaded connections. This will ensure smooth operation and prevent future rust. Use a high-quality bicycle grease.
Adjustments
Adjust the brakes, gears, and other components to ensure that the rusted bike is functioning properly. This may require some fine-tuning and adjustments. Consult a bicycle repair manual or online resources for guidance. [See also: Bicycle Repair Manuals Online]
Preventing Future Rust: Maintaining Your Restored Bike
Once you’ve restored your rusted bike, it’s essential to take steps to prevent future rust. Here are some tips:
- Store your bike indoors or in a covered area.
- Clean your bike regularly, especially after riding in wet or muddy conditions.
- Apply a rust inhibitor to exposed metal surfaces.
- Lubricate moving parts regularly.
- Inspect your bike regularly for signs of rust and address any problems promptly.
Conclusion: The Satisfaction of Restoration
Restoring a rusted bike can be a challenging but rewarding experience. It requires time, effort, and patience, but the satisfaction of transforming a rusty relic into a gleaming road warrior is well worth it. Not only will you have a unique and personalized bicycle, but you’ll also have gained valuable skills and knowledge about bicycle maintenance and restoration. So, don’t be afraid to tackle that rusted bike in your garage. With the right tools, techniques, and a bit of determination, you can bring it back to life and enjoy the thrill of riding a restored classic.
